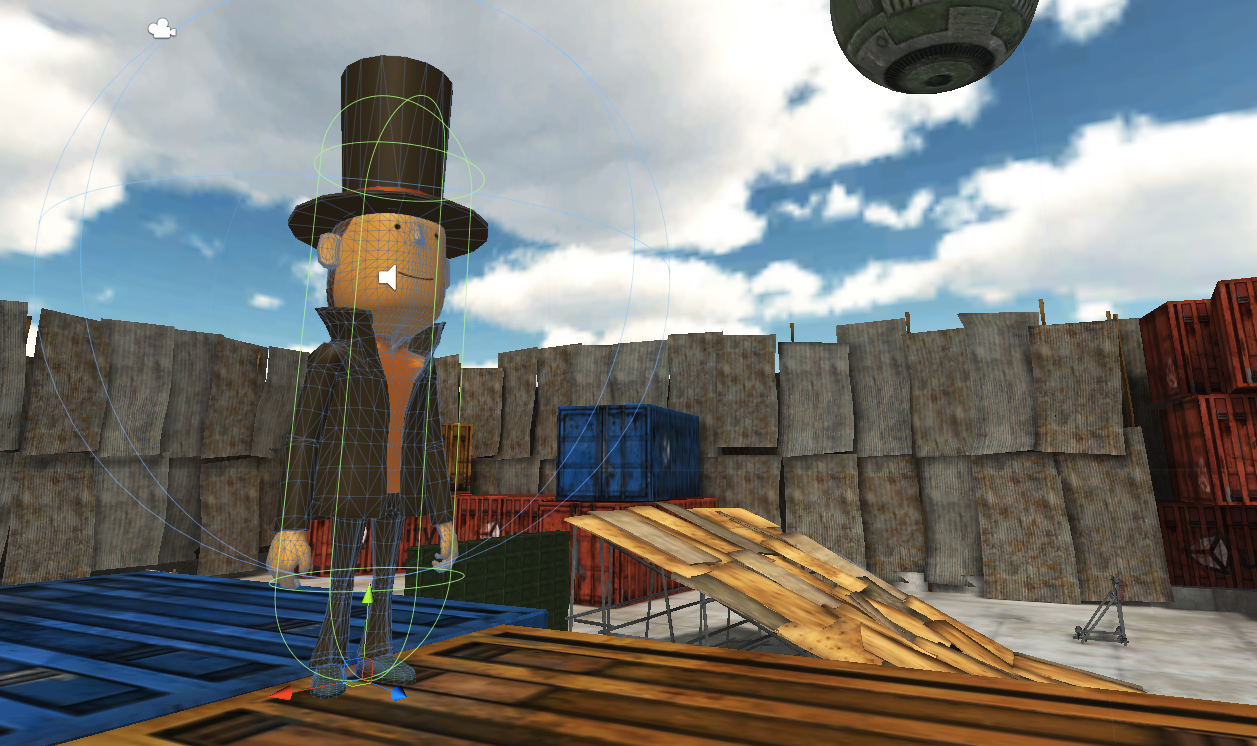
Now that we know how to create a skeleton and perform skinning thanks to the first part of this article, we are ready to export the model to Unity and animate it with Mecanim.
Play the live demo at the end of the article to see the results !
Model export
In order to use your model in Unity, you can either go with the Maya file (*.mb or *.ma) or export to FBX (*.fbx). It is good practice to stick with the format of your 3D package as long as you are working on your model (if you need to test in Unity at different stages) and then export to FBX so Unity can work with a file that is smaller and easier to import.
If you go for FBX export, make sure you check the following options in the export window :
- Animation > Animation
- Animation > Deformed Models > Skins
- Animation > Constraints > Constraints
- Animation > Constraints > Skeleton Definitions
Mecanim integration in Unity
Once you have your file, copy it under the Assets folder of your Unity project so it can be automatically imported. Then, select the file in Unity’s project browser so that you can see its properties in the inspector. Go to the “Rig” tab and select the following options :
- Animation Type : Humanoid
- Avatar Definition : Create From This Model
Now you can move your model to the scene and attach an Animation Controller to bring your character to life. I could go through the following steps about creating the animation controller and configuring animations and blend trees but you’ll be better off with Will Goldstone’s awesome video tutorial available on Unity3D’s official YouTube channel.
Result
The steps described in this article are the exact ones I followed in order to animate the Professor Layton character I modeled a few days ago. So here it is in action :
Naturally, you can also play this mini-game directly in your browser :
I hope you found this article useful for integrating your models into Mecanim, and if you have questions or remarks, feel free to leave a comment !


That’s all well and dandy except when you make an animation in Maya the animation doesn’t work in Unity.
Any keyframes applied to the skeleton are simply ignored and any keyframes set on the control rig are simply ignored.
I did a very basic “idle” animation. All I did was rotate the body 5 degrees and lower the hips by a fraction. The results in Maya is the body going down while the hands and feet stay where I placed them, giving exactly the effect I was after. The results in Unity is the feet and hands not animating at all but the whole model going under the floor and rising to the floor as the hips node is animated.
If the animation in Maya and Unity does not match then this HumanIK setup has something missing… Any idea what that might be?
Well that kind of weird behavior can come from a lot of things so it’s hard to tell without having the model.
Anyway, make sure that you bake the animations before exporting or check it in Maya Export options.
Also check that you are using FBX 2011 as newer version can cause all sorts of problems when importing into Unity.
You could also try changing the Export Scale factor and compensate for it in Unity import options (might produce better results), or change the animation type in the Rig import settings. I recently had to import a quadruped and had to go with “Generic” to get animations imported properly. That might no be necessary if yours is an humanoid but may be worth a try!
yeah I get it but question what if I already have a already rigged character do I human ik and define the bones then export or what?